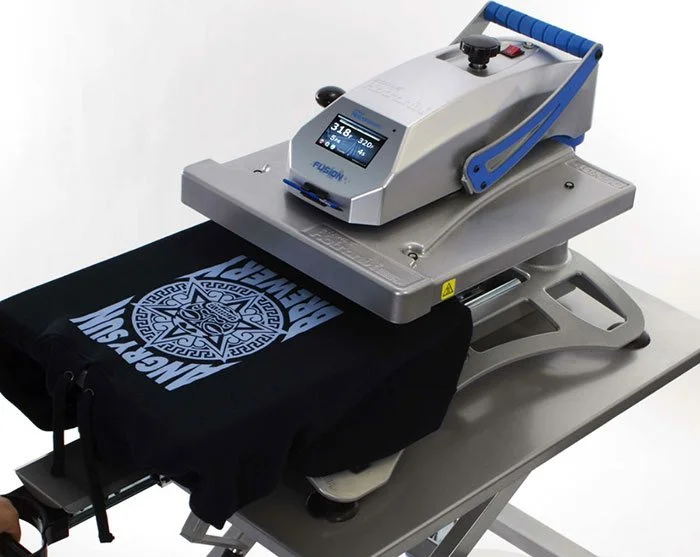
Getting an iron-on patch to bond properly and stay bonded comes down to more than just heat and time — it’s also knowing what to do when it doesn’t stick the first time, and what actually determines how long it lasts. Here’s the full process, based on what we use in production.
The Settings
Temperature: 300°F / 150°C
Time: 15 seconds
Pressure: Medium
Place the patch on the garment, cover it with a Teflon sheet or parchment paper, then apply heat. The barrier protects both the patch and the iron or heat press plate — never press directly on either.
Heat Press Machine vs. Household Iron
Both work, using the same 300°F / 150°C setting:
Heat press machine: Applies even heat and consistent pressure across the entire patch in one motion — more reliable for multiple patches or larger designs. Follow the same temperature and duration; most machines have a built-in timer.
Household iron: Works fine for smaller batches or one-off patches. Press down firmly for 15-20 seconds without sliding the iron — sliding can shift the patch before the adhesive sets. For a patch larger than the iron’s plate, press different sections separately rather than covering it unevenly in one pass.
Step-by-Step Application
- Position the patch exactly where you want it on the garment.
- Cover the patch with a Teflon sheet or parchment paper.
- Apply heat at 300°F for 15 seconds with medium, even pressure.
- Let the patch cool completely before moving or wearing the garment — the adhesive needs to fully set, and handling it too soon can weaken the bond before it cures.
- Once cooled, check the bond with a light tug at the edge — not a hard pull, just enough to confirm it’s held.
What to Do If It Doesn’t Stick the First Time
This happens, especially on thicker fabric or the first attempt with a new iron or machine. Here’s the fix, step by step:
- Reapply heat to the same spot. Cover the patch again with the Teflon sheet or parchment paper, and press again — slightly increase either the heat, the time, or the pressure, rather than changing all three at once. This makes it easier to tell what actually fixed it.
- Repeat the full process — cover, press, hold, remove. Don’t just touch the iron to the spot for a second; give it the full 15 seconds again.
- Let it cool completely before checking again. A patch can feel bonded while still warm and then lift as it cools — always judge the bond after it’s fully cooled, not immediately after pressing.
- If an edge or corner still won’t stay down, a small amount of fabric glue applied under just that section, held in place until it sets, is a reliable fix. This is common on curved edges or thicker embroidered borders where the iron’s heat doesn’t reach evenly. Use fabric glue sparingly — a thin line under the lifting section is enough, and let it cure fully before wearing the garment.
How Long Does an Iron-On Patch Last?
On compatible fabrics, applied correctly, an iron-on patch typically lasts through 30-50 machine wash cycles — and can last the life of the garment if it was bonded properly and the fabric is well-suited to iron-on backing in the first place.
How to Make It Last Longer
- Wash cold, not hot. Hot water and high heat both stress the adhesive bond over repeated cycles — cold water washing extends how many cycles the patch survives.
- Turn the garment inside out before washing so the patch isn’t taking direct friction against the washing machine drum or other garments.
- Avoid high-heat drying directly on the patch. If you’re using a dryer, a lower heat setting reduces cumulative heat stress on the adhesive over time.
- Reinforce with stitching. For a patch that needs to survive heavy, long-term wear — a work jacket, a uniform, something washed constantly — you can sew around the edges after heat pressing. The iron-on bond holds the patch in place and flat while you stitch, and the stitching becomes the primary hold once it’s done. This combination is more durable than either method alone, and it’s a common approach for patches that need to genuinely last for years rather than months.
Before You Start: Test on a Small Area
Different fabrics respond slightly differently to heat. Test on a small, hidden section first — inside a hem, a cuff, or a scrap of the same material — before committing to the visible placement, especially on fabric you haven’t worked with before.
A Note on Fleece and Other Sensitive Fabrics
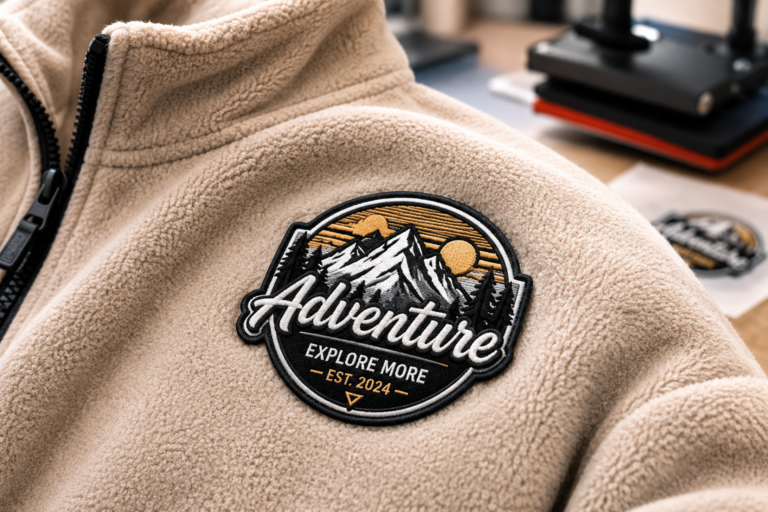
Standard cotton, denim, canvas, and polyester blends handle the settings above without issue. Fleece is the exception — it’s more heat-sensitive, and too much heat or pressure can flatten the fibers or leave a shiny mark. See our full guide to iron-on patches on fleece for fleece-specific handling.
When Iron-On Isn’t the Right Choice At All
Iron-on backing doesn’t bond well to waterproof or coated materials like raincoats and windbreakers, or to genuine leather — the adhesive can’t get proper contact, and heat can damage a waterproof coating. For those materials, sew-on backing is the right choice from the start, not a fix to attempt after the fact.
Need Patches Made, Not Just Applied?
If you’re scaling past DIY and need professionally made iron-on patches, we’ve been manufacturing patches in-house since 2023, backed by over a decade of industry experience. No minimum order, a free digital mock-up within 24 hours, and rush delivery in as little as 7 days.